In this article, we will be setting up CI/CD (continuous integration and continous deployment) pipeline for a mobile app built with Flutter. We will be using Github Actions setting up automated build/test and create release tasks.
We will first build a simple Flutter app then push it to a Github repository. We will then setup workflow for continuous integration for the app. We will be creating two workflows, one for pullrequest and one for releasing android applications. At the end of all this hussle we will have a streamlined process to build, test and release android applications to github releases.
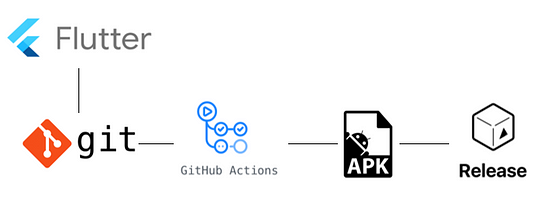
If you are familiar with CI concept, already know the benefits of automated builds and releases and want to just get started with the process and setup, jump to Setting up Flutter project with Github.
Why CI/CD for flutter?
For any application, it’s always the best thing to get feedback as early as possible and continuously. We can ensure that any new code that is merged with production/mainline code is tested and does not break any features. Also automated release creation will save efforts to perform repeatative tasks that can be used to develop new features.
Setting up Flutter project with Github
First we will create a new repository in Github. Clone that repository in your computer. Open your preferred cli tool and navigate to repository and create a new flutter app using flutter create . Now push this new application to your repository.
Setting up workflow in github actions
Once we have application code in repository, we can now start creating workflow in Github actions. Workflow can vary from project to project and requirement basis. Here we are going to setup workflow for building, running automated tests for flutter application and then create apks/app bundle to release in github releases.
So let’s get started with workflow.
In github, actions workflow files are created in YAML and they are stored in predefined directory in your repository.
Create workflow file
Create a new directory named workflows in .github directory. Create a new file named android-release.yml in workflows directory. File path will be .github/workflows/android-release.yml
We will define name, trigger, jobs and steps in our workflow file. You can refer to the syntax for workflow files. There are github actions available which we can use and configure to perform tasks.
Workflow trigger
We want to have an automated build running when any new code is checked into master branch. You can use different trigger as well.
Determine version number using GitVersion (optional)
Gitversion is a tool which we will use to determine the release version. Checkout gitversion and semantic versioning for more information. We will do this in a different job and then use artifacts in another job to tag release.
This job will calculate version number and store it in a file called version.txt in build artifacts.
Build, test and Create release job
In this job, we will perform tasks to setup flutter and java in build agent, test flutter application, create android APKs and app bundle and then create a release with build artifacts.
First 3 steps are to checkout code and setup flutter and java in build agent.
We will download version.txt file created from previous job and get the version number. This is optional and you may not need it.
Next steps are flutter cli commands to test and build apks and app bundle.
flutter pub get flutter test flutter build apk --release --split-per-abi flutter build appbundle
After above steps, we will have created APKs and app bundle. You may wan them to release so that they can be downloaded and you can install in physical devices to test it.
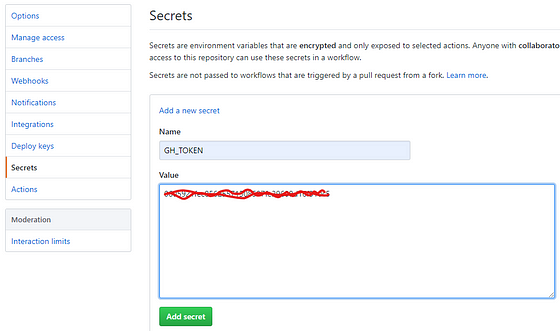
Here we are using a secret value called GH_TOKEN. This is a personal access token that will be used by build agent to create a release in github.
Generate a personal access token to create releases in this workflow. Go to https://github.com/settings/tokens and generate a new token. Then set it as a secret in your reposioty https://<repository-url>/settings/secrets.
Here’s how the full android-release.yml file looks like.
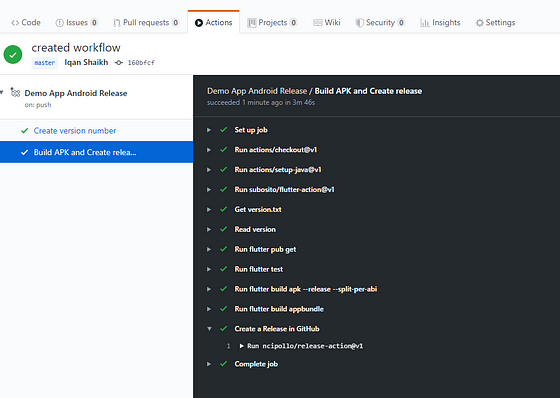
Once you push this file to master, you will see a build queued in Actions tab.

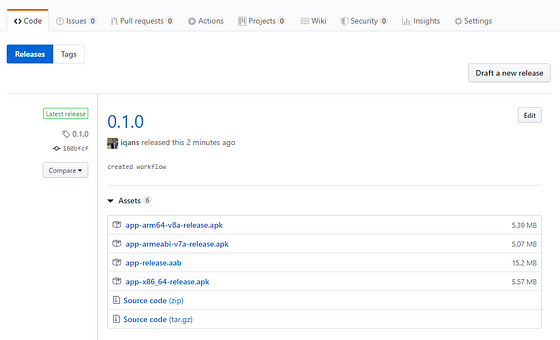
After successful build, you should see similar output.
Wrapping up
Setting up CI/CD using github actions looks difficult at the start. But once you get the hang of it, it’s really straight-forward. You can modify it as per your requirements. I will be adding more steps to the workflow. For example to automatically publish apps to appstore soon.
Please have a look at this demo repository if you are stuck or want to refer.
Hope this helps you. Have a lovely day!
